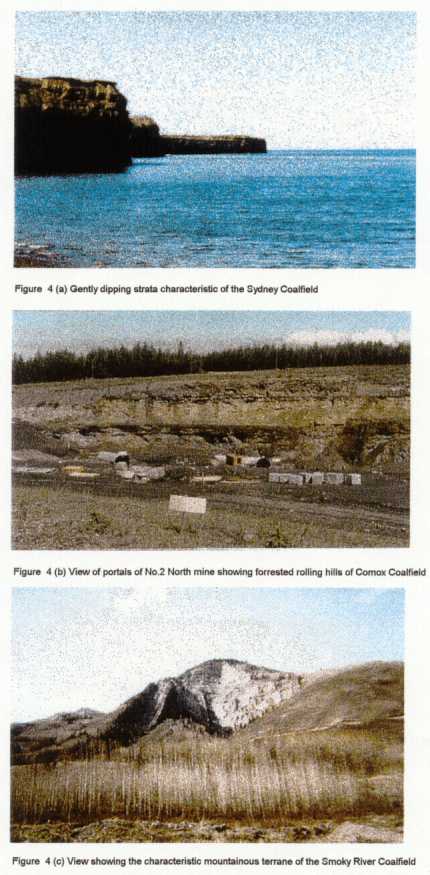
Figure 4: Photographs showing the contrast of structural style exhibited by the three Coalfields
Please use your BACK Button to Return to Document